Take a look at your phone. Odds are one of the apps you have installed is Instagram (if you haven’t replaced it with TikTok already).
Instagram wasn’t always like the app on your phone today. Before focusing on editing and sharing media, Instagram used to be called Burbn and was built to mimic the success of the location sharing app, Foursquare. But the founder observed patterns in how real users were interacting with his app, rebuilt it, and the rest is history.
Those early years are a great model of what has become an oft-repeated recipe for success with Silicon Valley giants: create a streamlined product based on your idea, test it with real users, incorporate their feedback, test and repeat.
This process isn’t just for startups, though. Any company or team with a hypothesis for their product can use this model to dramatically de-risk their investments in new products or even features.
But where do you start?
Enter, the MVP.
What is an MVP?
When it comes to product design and development, “MVP” stands for Minimum Viable Product. The MVP represents the simplest version of your product that can be released while providing meaningful value to your users. It’s a delicate balance between developing the core functionality that differentiates your new product, while having the discipline to understand what features should be put on the product roadmap for a future phase.
Benefits of MVP Design
This approach can give your product a leg up if executed well. You can validate the purpose and feature set of your product in the wild with actual users and gather direct customer feedback before putting money behind features that don’t actually meet user needs. You’re investing in user research so that when it comes time to build the product, you and your development team have a clear idea of what to build now, and what can be built later.
Additionally, teams that adopt an MVP approach tend to build and release products far more rapidly than those looking to perfect a Version 1 with a wider, but unproven, set of features. At the core of it, the MVP approach is about learning, validating, and increasing the velocity of your product development.
Building an MVP of your product not only speeds up the timeline to releasing something functional, but costs less in terms of team resources. A smaller startup, for example, could focus efforts on building an MVP with a smaller group of designers and developers, and then raise money from investors who can see and feel a tangible result.
So how does someone go about creating an MVP, successfully? What are the steps from a design process standpoint?
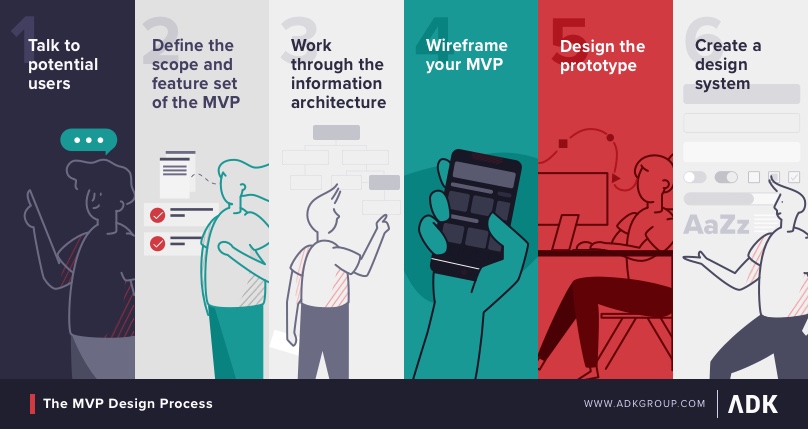
The MVP Design Process
1. Talk to potential users
Step one is to get to know your target audience, typically the people that would be early adopters of your product. This is something that should happen at various times throughout design and development, but is an essential first step. In my experience, many founders or product leaders are experts in the problem they’re solving through first hand experience. They built up their initial concept by talking to their contacts more about their pain points and considered what a solution might look like. Having that context is a great start, but product managers and designers can support and expand on it by validating concepts and continuing a dialogue with potential users. Start by reviewing the initial research and then schedule a handful of discovery interviews so you can hear more about your users’ needs first hand. Look for opportunities to ask follow-up questions that challenge the key value prop to either validate or invalidate it.
2. Define the scope and feature set of the MVP
This will be unique for every organization, but the spirit remains the same. Consider what feature or handful of features provides the most value to your users and differentiation from other products while still being tightly focused. This type of prioritization sounds easy but is very challenging. If you have experience with the Agile methodology, you’ve probably heard of Epics that contain a collection of User Stories organized around a feature or navigational section within a product (a slightly less formal version of this is to create a set of Jobs-to-be-done). A good MVP will have fewer Epics, and they will relate to the limited feature set required to ship something simple and useful. A good rule of measure is that the final feature set for MVP should feel slightly sparse but still live up to the main value prop.
3. Work through the information architecture
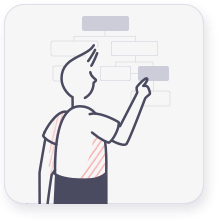
When you know what core feature(s) your MVP will include, the next step is to understand how the user experience will be organized. Information architecture can be represented visually as a map, showing which screens are necessary for the product and their relationship to one another. For example, what are the steps in the registration flow? How many key screens are needed and what will the navigation look like to reach them? How will you handle onboarding? Which user roles have access to which screens? Your information architecture should answer these questions to help lay the foundation of your experience.
4. Wireframe your MVP
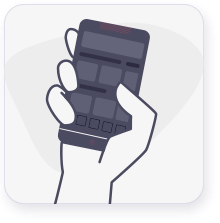
Once you have the User Stories and Information Architecture mapped out for your MVP, it’s time to start prototyping with wireframes. Wireframes are considered low-fidelity, black and white designs that are meant to represent a product’s user interface. They’re great for aligning teams and testing assumptions. Because they can be created rapidly, you can quickly explore multiple concepts and treatments before arriving on a version that feels like the right fit. Wireframes can also be designed for various form factors such as desktop, tablet, and mobile and can be made into clickable prototypes for user testing. At this point, it’s always a good idea to put wireframes and prototypes in front of potential users to validate your ideas to see how easily they can accomplish the key tasks related to your MVP. Concept validation will almost always uncover issues that can be resolved or clarified to better your prototype.
5. Design the prototype
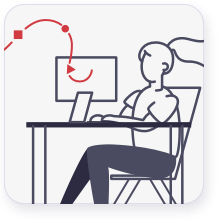
Now is your chance to refine the design and apply your brand’s visual language to the prototype. The end goal is to produce a high fidelity prototype that models how the user interface should look and feel for your development team. Remember to use fonts, colors, and visual hierarchy intentionally and always consider accessibility best practices while designing. Don’t forget to carefully consider and include edge cases, error states and first-time onboarding design flows in your prototype to ensure developers have a full toolkit of visual references. Investing the time here ensures that you’re getting the maximum amount of product fidelity with the least effort.
6. Create a design system
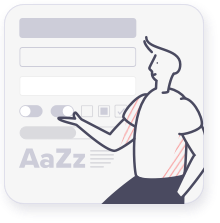
During or just after you complete high fidelity design, you should consider creating a design system to produce a living artifact of your product’s styles and components. This system should include a full set of standard UI components common to most digital products should you need to add them to future versions of the interface. Design systems are also very convenient for developers as a single source of truth and ensure closer parity between design and front-end code. Design systems are a great source of reference for when it’s time to start adding new features in later versions. If there is one single source of truth for design standards for your product, you’re less likely to fall into the bad habit of introducing inconsistencies in these post-MVP feature additions.
After Your MVP is Designed
In a perfect world you’ll have time to put all the finishing touches on your design before you need to hand it off to the development team. In reality, that rarely happens. It’s likely that your MVP development team has already begun certain processes like creating the database architecture and back-end logic.
Throughout our design phase we work with our entire product team, which includes developers, growth marketers, analytics experts, SEO strategists, and more. Making sure diverse stakeholders have a say as early in the design process as possible ensures best practices get baked into the product and multiplies the number and quality of ideas.
As designs receive the seal of approval from users, developers, and product owners, they are handed off to the development team to be coded. This reduces back and forth post-handoff that can create roadblocks for development teams and cause headaches for product owners.
When the development is near complete and a working MVP can, for the most part, be demonstrated, it’s always recommended that the designer spend some time reviewing the interface to make sure it adheres to the prototype and the design system. Sometimes small details can be lost in translation between design and code, so this process ensures that the designer’s intent and vision has been successfully captured.
This is also a key moment to perform usability testing. Get the prototype or staging environment in front of potential users who have not been elbow-deep in these screens for the last few months. An outsider’s perspective can help identify some areas that need polish (missing error states, unclear messaging, etc.). This is a critical step for MVPs with bigger launch plans. You don’t want to spend a bunch of money launching something that hasn’t been vetted outside the circle of the product team. If you don’t have the luxury of time to perform a formal round of usability testing and have a modest launch plan you can take the agile approach and launch without this step but you must have a product team standing by to react to incoming user feedback.
For startups, MVPs are one of the most efficient ways to turn your capital into the insight that will help you achieve product-market fit. For enterprise companies, following the MVP design and development process is a proven way you can de-risk investments and learn valuable information about your users’ behavior.
But MVPs aren’t one-size-fits-all – if you’re entering heavily regulated markets like healthcare or finance an MVP is likely inappropriate. If you’re considering the MVP process (or something like it) for your next product and have any questions or ideas, we’d love to chat about it with you. Send us an email and we’ll connect you with a product design leader who can help out!